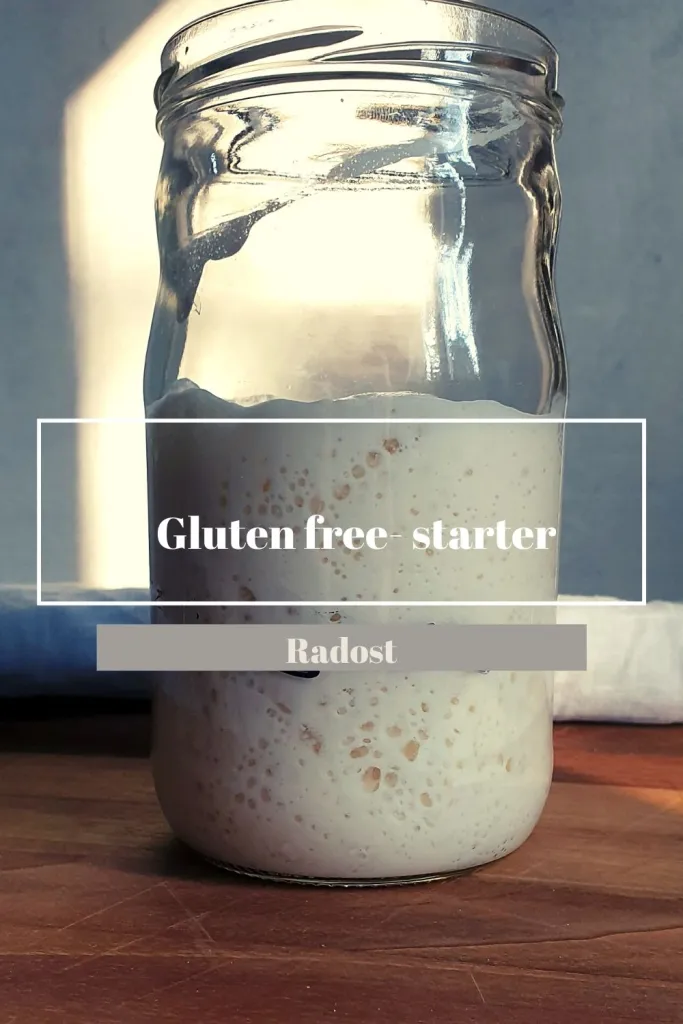
I have had only one thing on my mind for the last 6 months, and that is to succeed in making a good gluten-free sourdough starter. The day has finally come after a series of failures.
Today is the day of my triumph and I am writing this with immense satisfaction.
I wanted to try many different things, which ultimately resulted in me throwing away a lot of starters. However, through these failures I learned a lot about the making process. Therefore, I would like to give you some advice. First, you should be aware of the three main ingredients: love, patience, and discipline.
If you decide to embark on an adventure of making your own starter, trust me, that piece of advice will serve you well. There are many different recipes for making gluten-free starters, and this is my way of making it that proved to be successful.
So let’s get started:
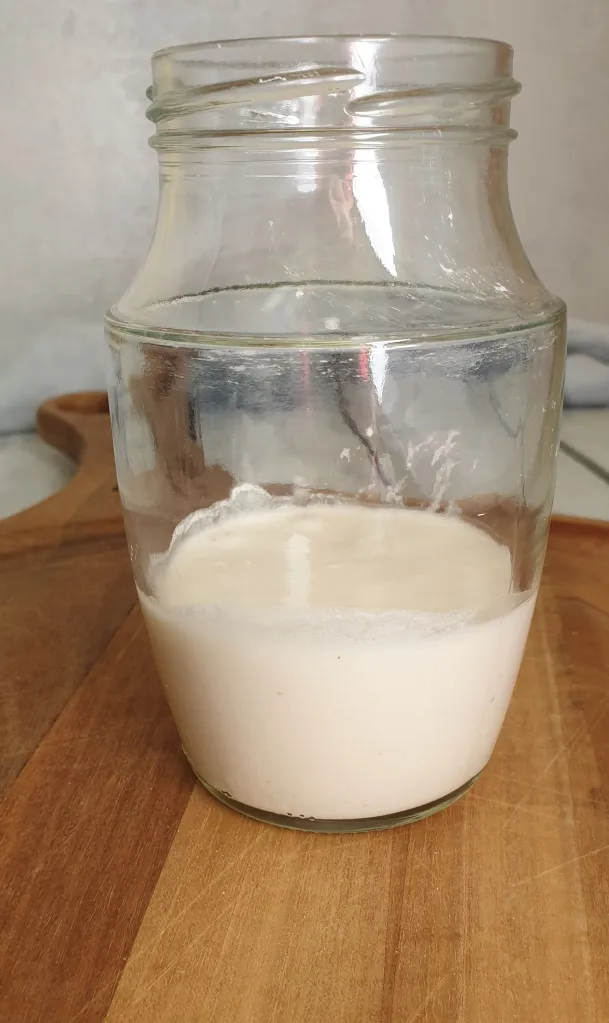
DAY 1 – MAKING THE STARTER
- 60 g MIX B flour, Schar
- 80 ml water – I always use warm tap water
Get a clean jar (it is very important for it to be spotless because we don’t want bad bacteria in the starter). Mix the flour and the water in a separate bowl and, when well combined, pour it into the jar. That should be your process every day: mix the flour and water in a separate bowl, and pour it into the jar. I cover the top of the jar with a piece of clean gauze and secure it with a rubber band to protect the starter but also to allow air circulation.
I feed the starter twice a day.
- The starter should be kept in a warm place, but not in direct sunlight so I keep it my pantry.
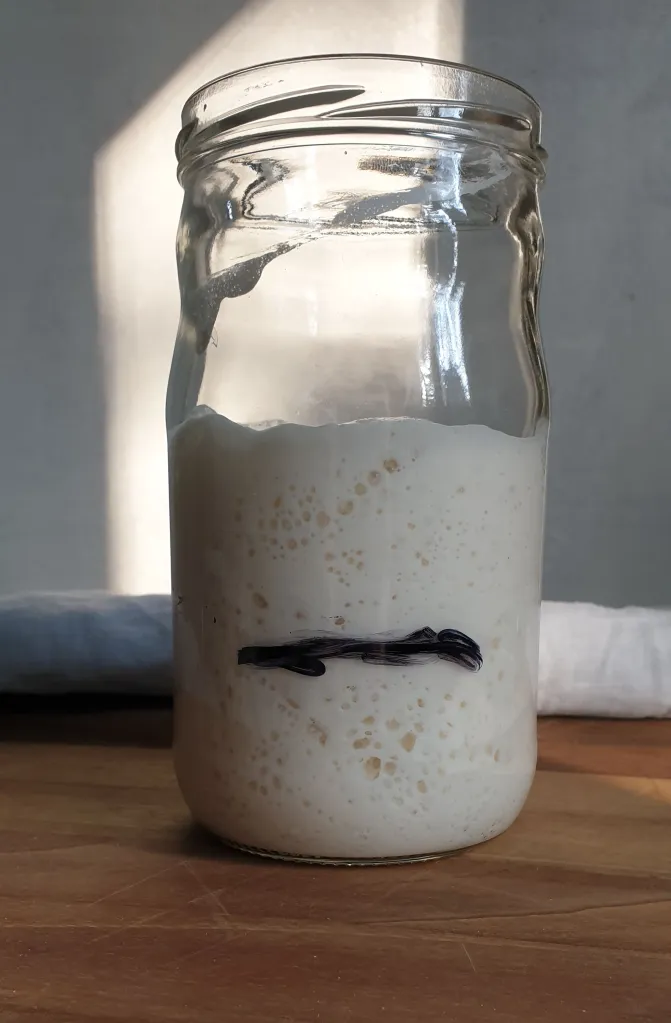
STARTER – DAY 1
DAY 1 – SECOND FEEDING
Throw away 40 g of the starter and add 60 g of flour and 80 ml of water.
Mix the flour and water in a separate bowl and then combine with the rest of the starter.
Now is the time to mark the level of your starter so you can monitor its growth. The intervals between feedings depend on the making process. I feed the starter in the morning and in the evening with 7 – 8 hours in between. Monitor the starter so it does not weaken.
STARTER DAY – 2
DAY 2 – THE FIRST FEEDING
Throw away 40 g of the starter and add 60 g of flour and 80 ml of water.
Mix the flour and water in a separate bowl and then combine with the rest of the starter.
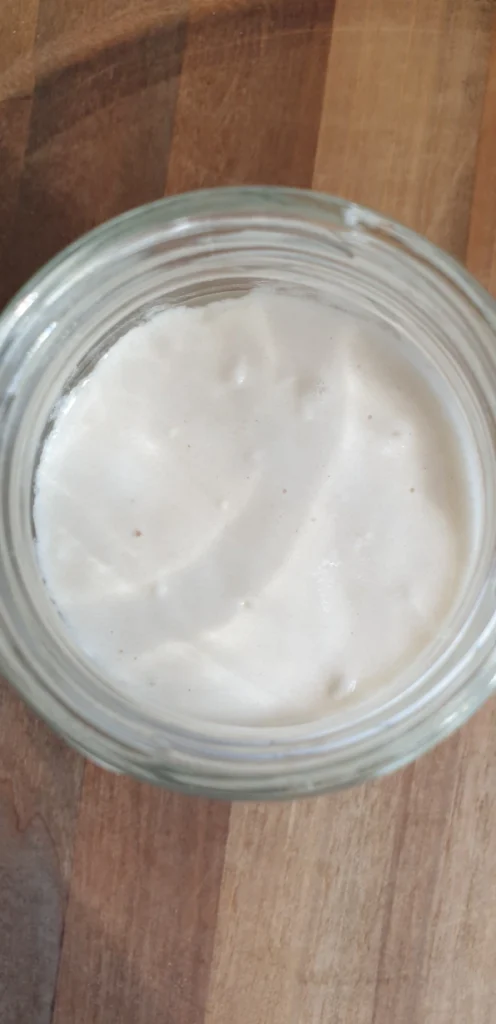
I wash the jar on day two because, as I have stated previously, it has to be spotless so that the bad bacteria do not end up in the starter. The smell of the starter has to be pleasant and tangy, and it must not change colours. In case it changes colours, throw it away and start over. That is why it is very important you do not touch the starter with your fingers.
DAY 2 – SECOND FEEDING
Throw away 80 g of the starter and add 60 g of flour and 80 ml of water.
Mix the flour and water in a separate bowl and then combine with the rest of the starter.
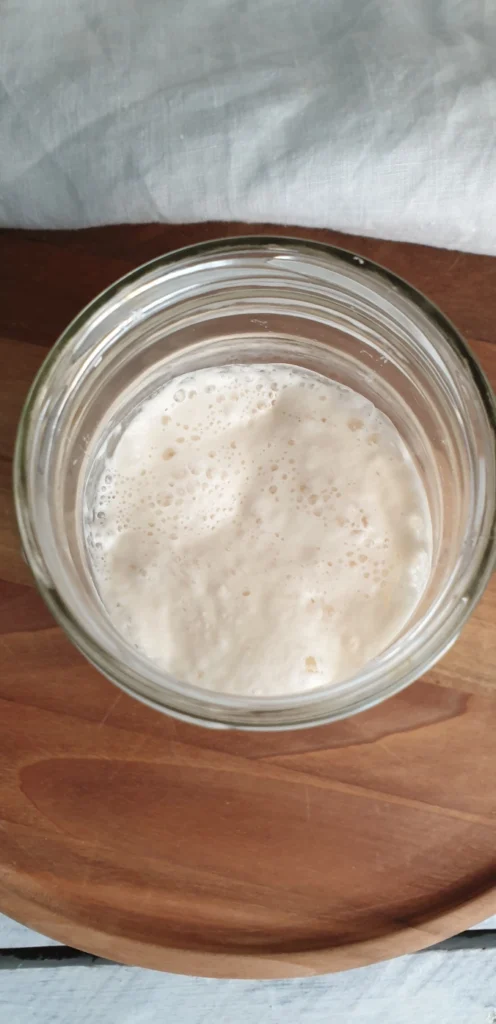
By now, the starter should be tangy and bubbles should begin to form under the surface. If that is not the case, it is time take my advice and be patient. Everything will be all right; the lack of smell and bubbles does not mean that the starter is going bad.
STARTER DAY – 3
DAY 3 – FIRST FEEDING
Throw away 80 g of the starter and add 60 g of flour and 80 ml of water.
Mix the flour and water in a separate bowl and then combine with the rest of the starter.
On day three, I moved the starter into a bigger jar (they are my favourite). I hope you are keeping the starter in a warm place and are monitoring its smell and colour.
DAY 3 – SECOND FEEDING
Throw away 80 g of the starter and add 60 g of flour and 80 ml of water.
Mix the flour and water in a separate bowl and then combine with the rest of the starter.
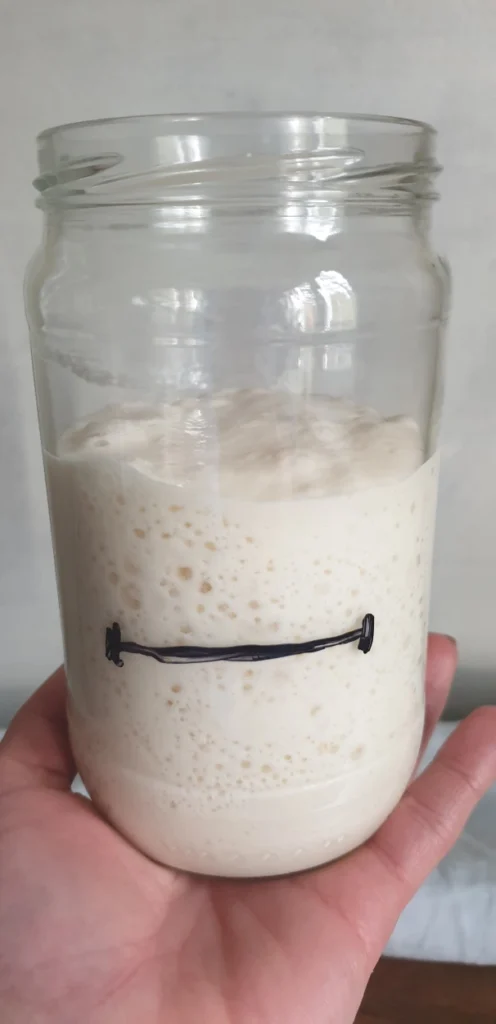
STARTER DAY – 4
Keep repeating the process from day three on daily bases. The starter is now ready for use to make sourdough bread, but I do not like to use it before day five. If your starter does not look like mine, keep soldering on and be patient because it does not mean it is going bad.
You can keep the starter in the fridge, just be sure to refresh it once or twice a week.
I have read a lot on starters, but the piece of advice that impressed me the most and was most helpful was by Andrea s bloga Cukar. Thank you for all your help and advice:
You can do it, Adrijana!
There are many great and helpful blog posts, and some of them that helped me with making the gluten-free starter and sourdough bread are Vanilla and Bean and Holy Cow.
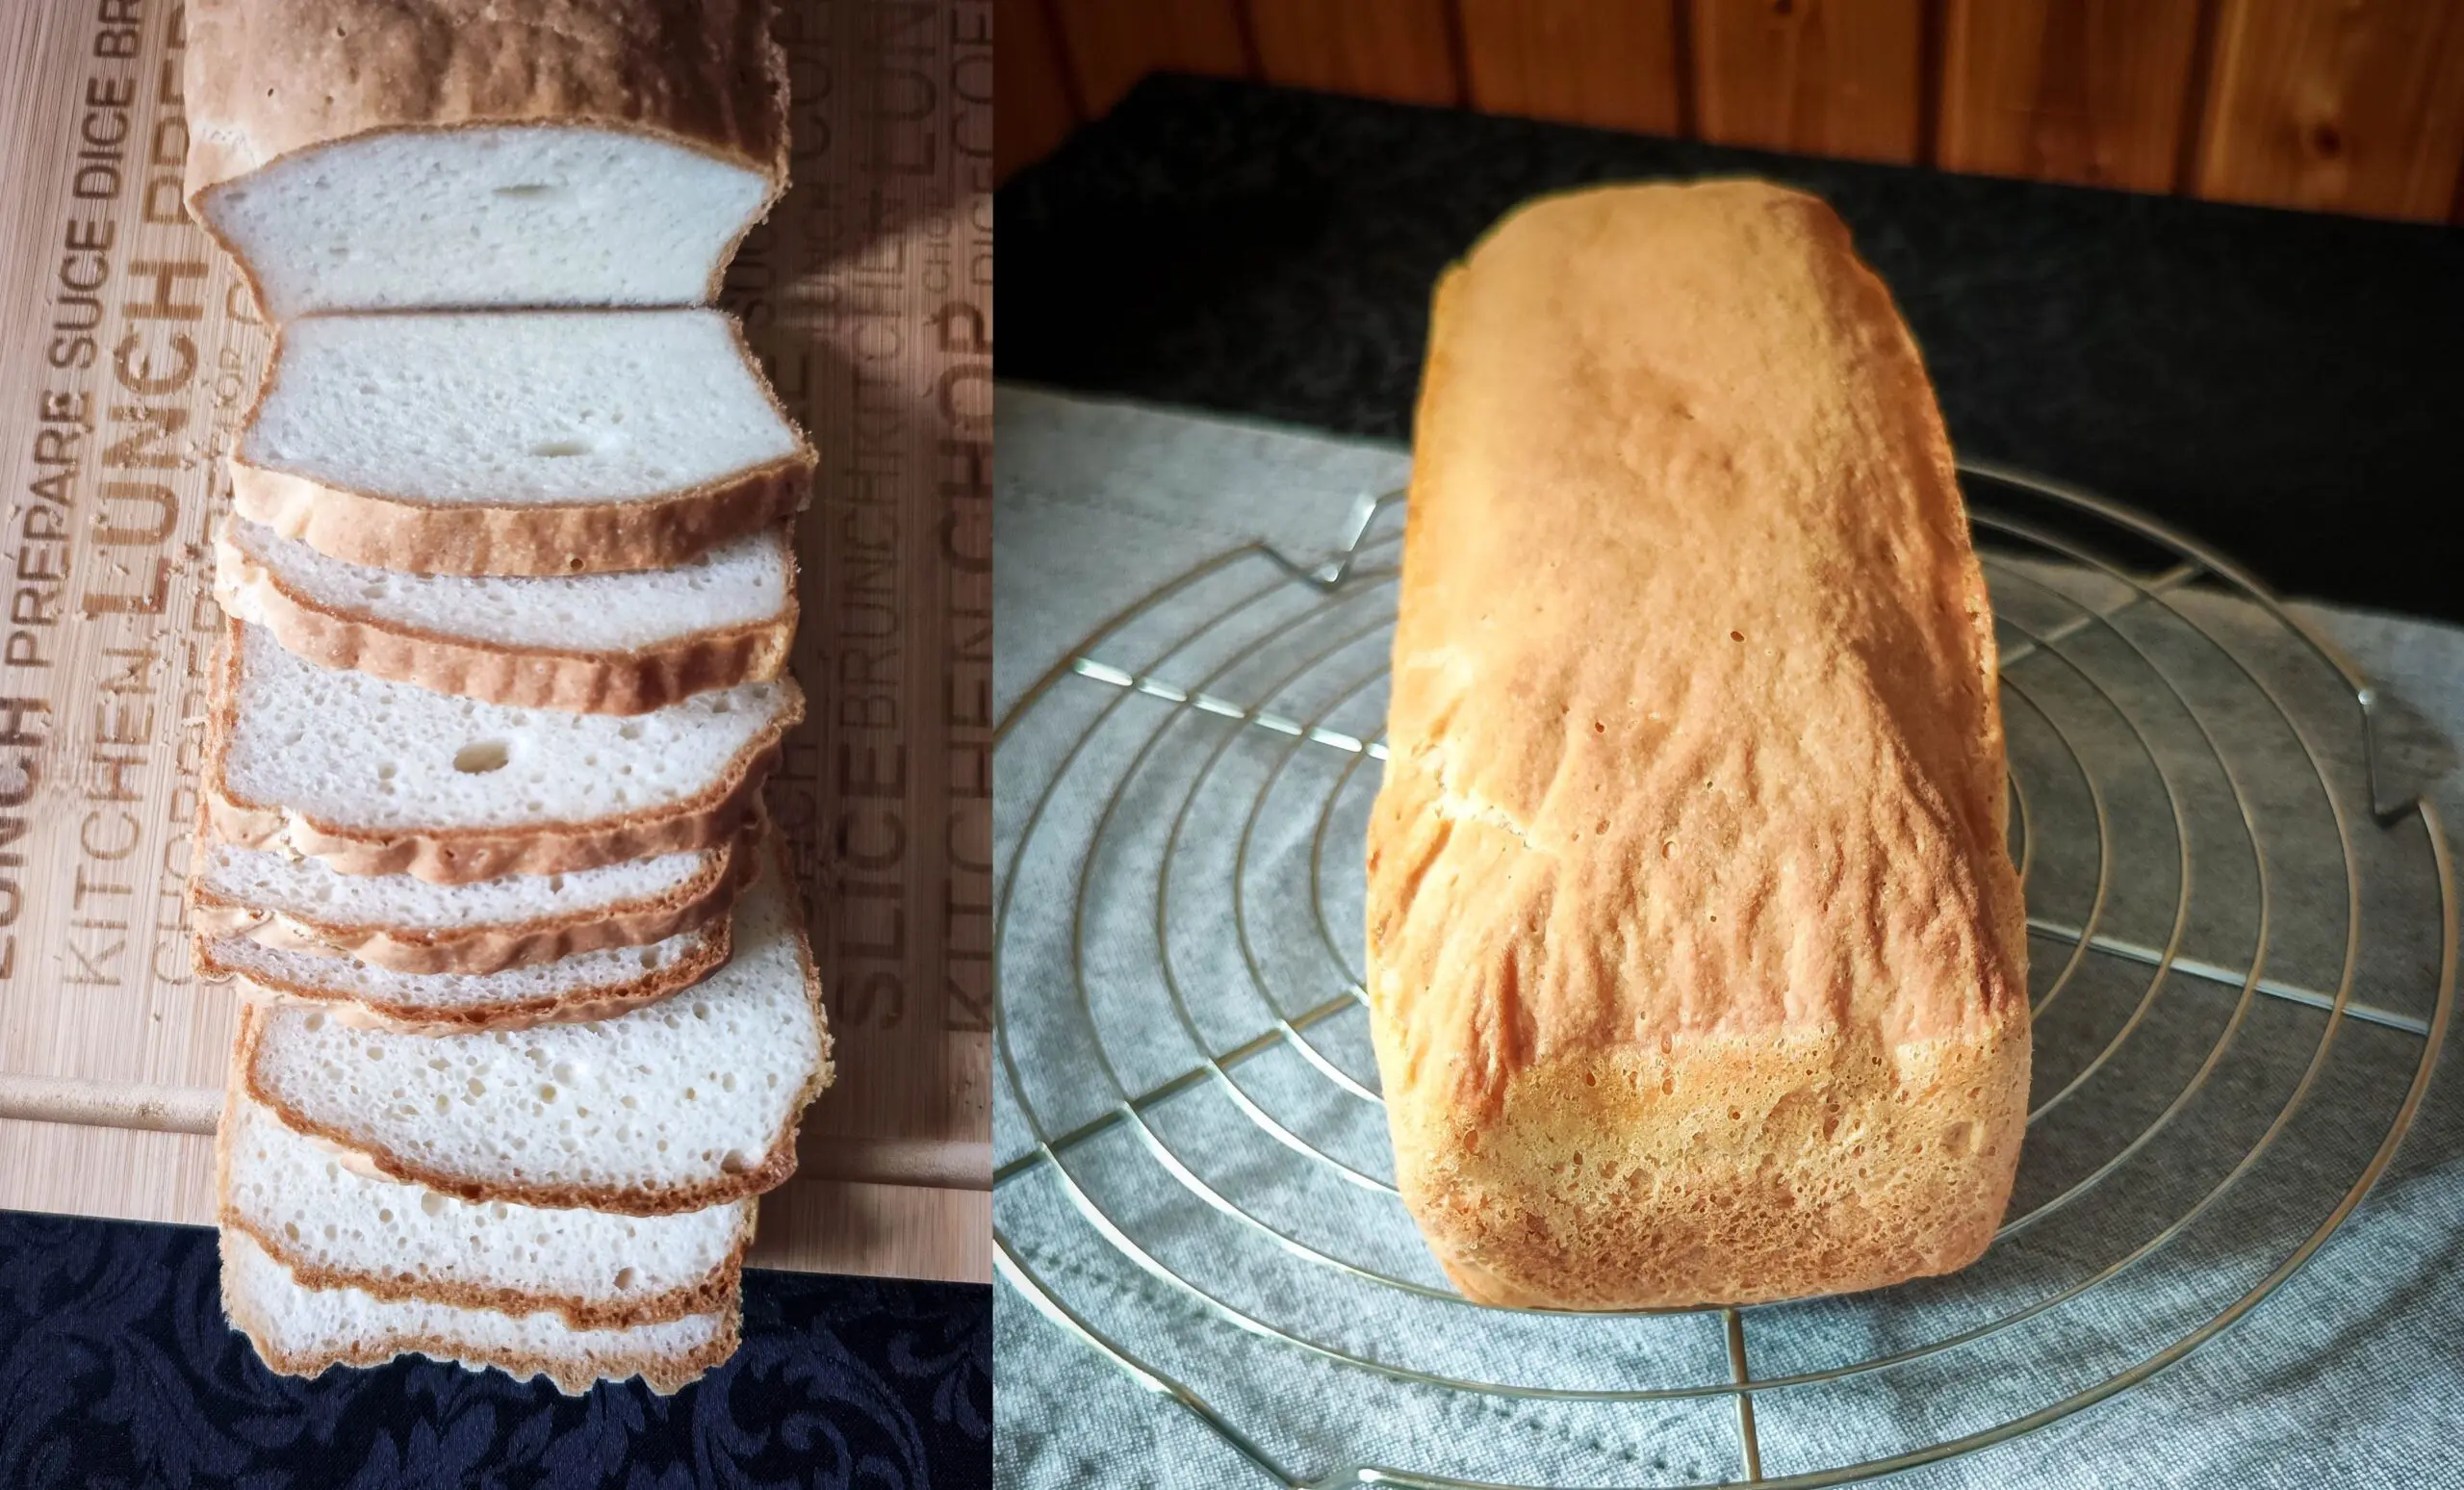
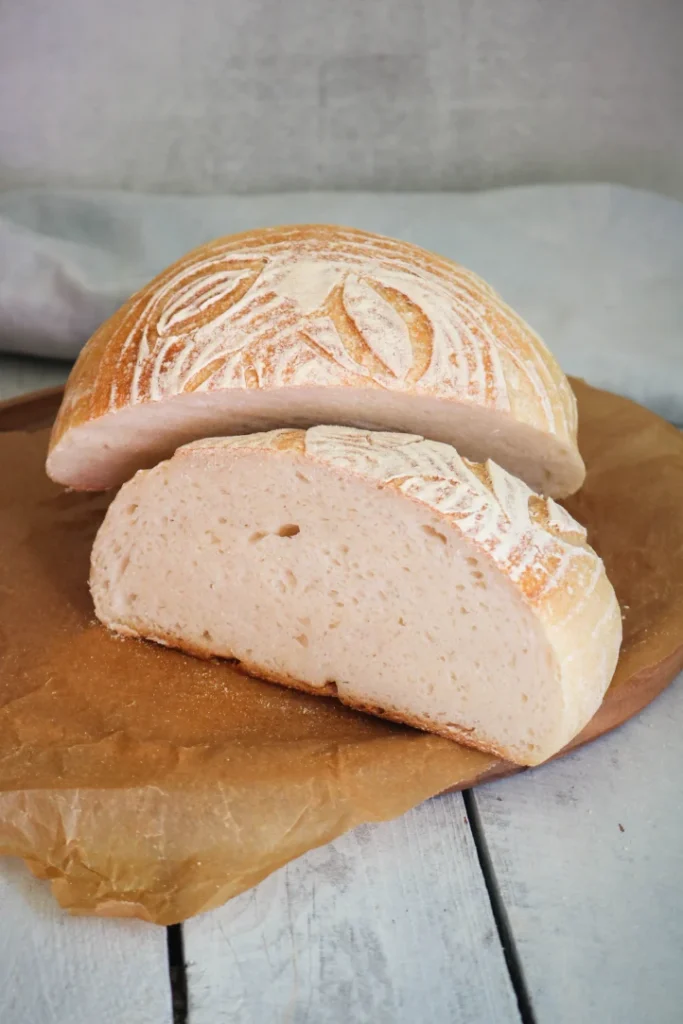
THE RECIPE FOR GLUTEN-FREE SOURDOUGH BREAD
INGREDIENTS:
- 460 g MIX B flour, Schar
- 2 tsp salt
- 150 g starter
- 400 ml warm water
INSTRUCTIONS:
Put flour, salt and starter in a large bowl. You can alternatively mix the starter with water and then add it into the flour, but I always add it directly into the flour and I have never encountered any problems with the dough. Prepare the water, add it to the flour and mix it with a wooden spoon or spatula. When mixed well, drizzle a bit of olive oil on the dough and mix some more. The olive oil will give the bread a nice colour, and the dough won’t stick to your hands so you will be able to shape it nicely.
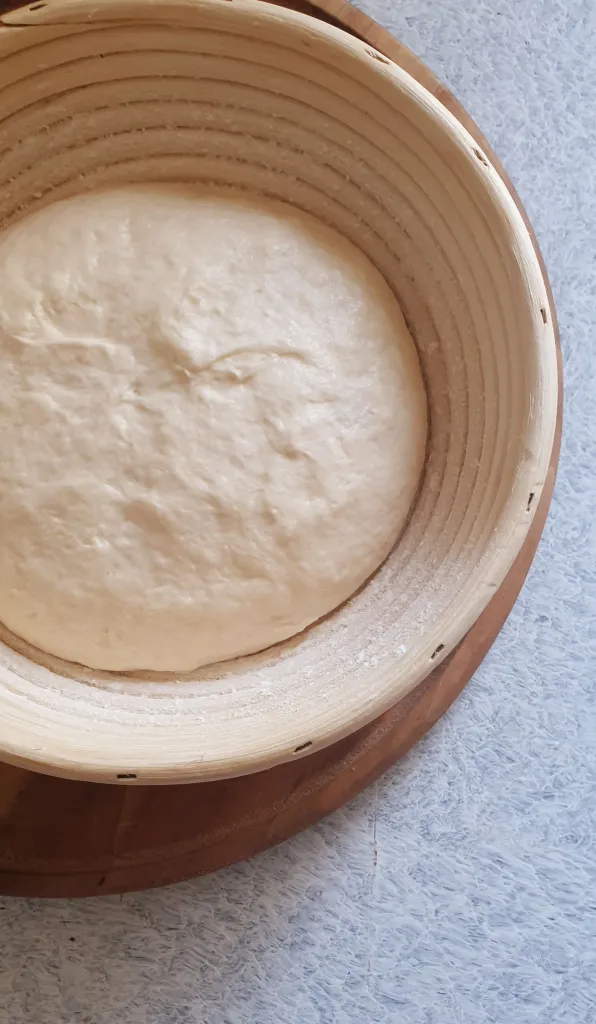
I usually put the dough in a banneton (proofing) basket. The basked has to be coated with rice flour and cornmeal, which is why I always have the mixture ready to go. These baskets are not suitable for washing because the water could destroy them so you need to brush the extra flour out of the basket. Afterwards, I wrap the basket with stretch foil, cover it with a kitchen dishtowel and leave it to ferment on room temperature for 10 hours. Now prepare yourself for the sweet agony of waiting.
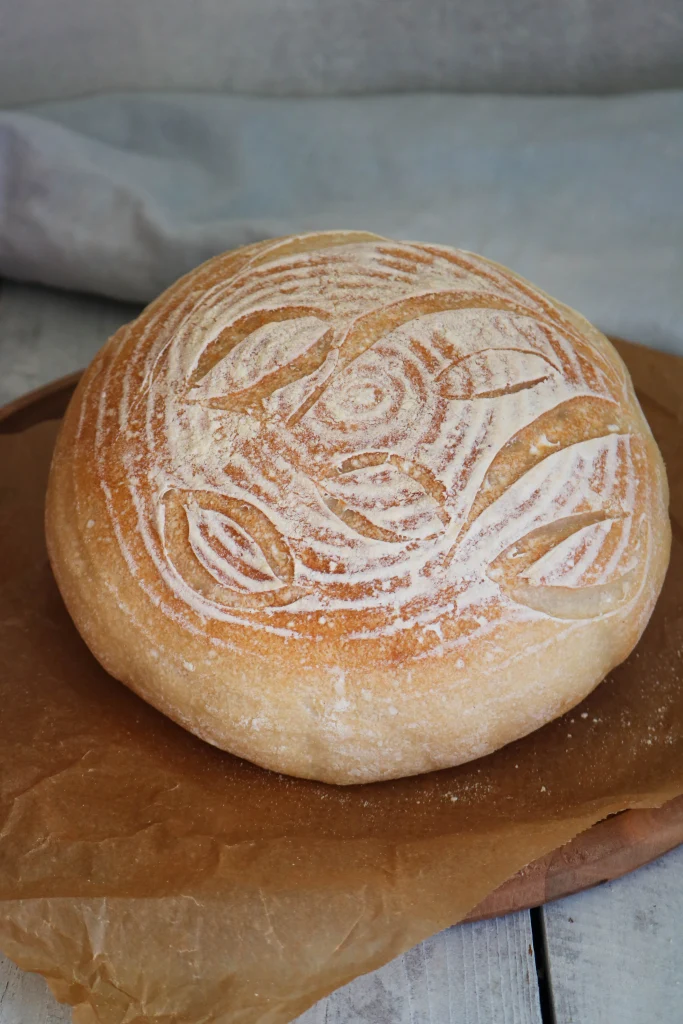
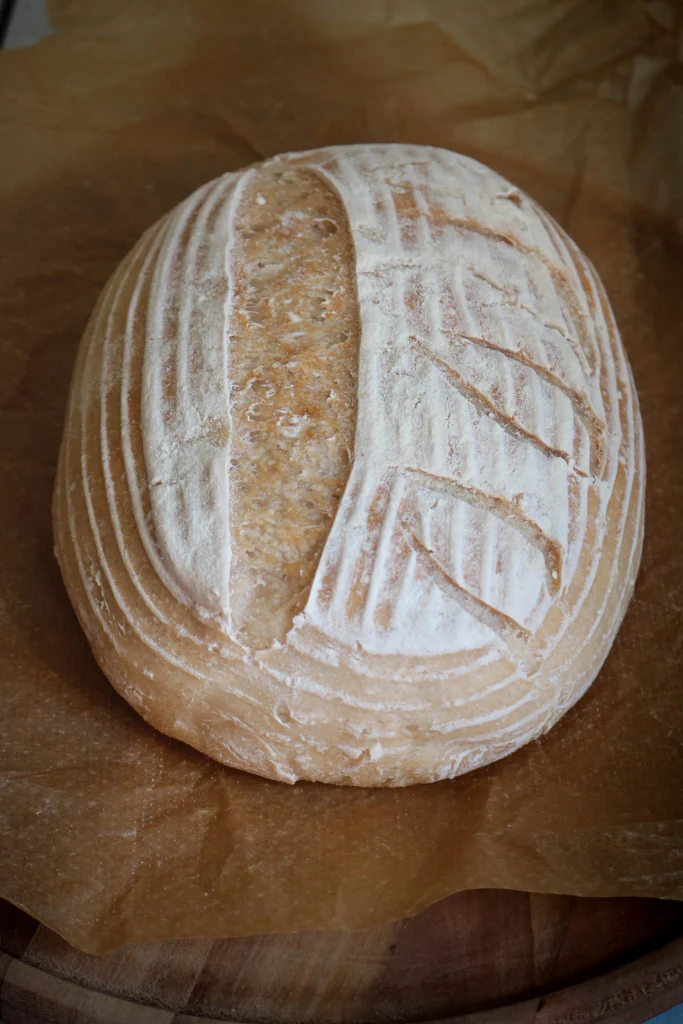
The next morning, the first thing I do is turn on the oven to heat up my cast iron pot. While it is heating up, I very carefully take out the dough from the basket and put it on parchment paper. Then I score the dough with a sharp knife and put it in the heated pot. Put the dough in the oven on 200 °C for 30 minutes.
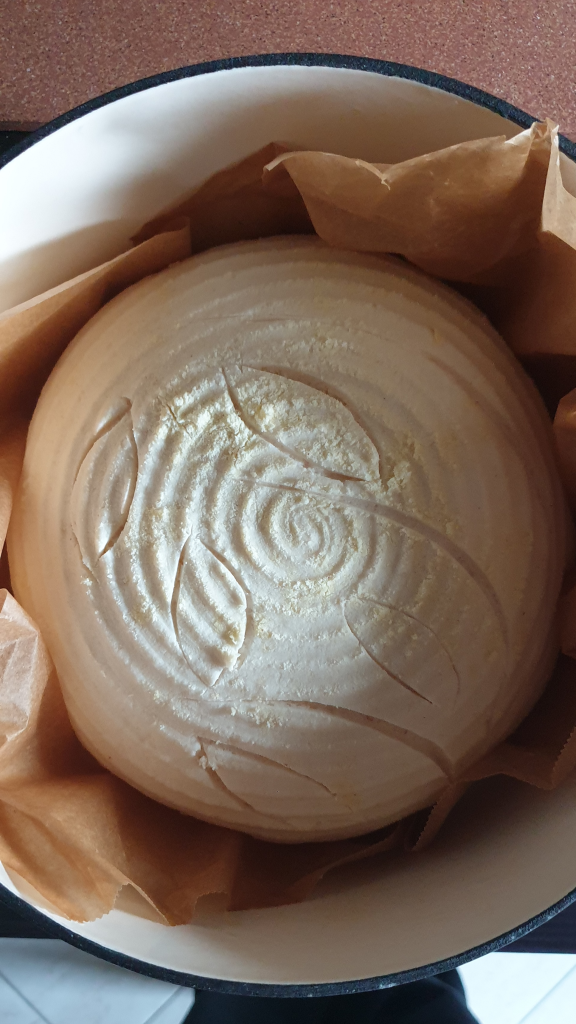
Bake the bread with the lid on the pot and only remove the lid at the end to get a crispy crust.
Be careful when taking the bread out because the pot gets very hot in the oven.
Once you start making bread with the starter, do not forget to keep feeding it so it would continue to grow.
Enjoy the art of making sourdough bread.